10 minutes
AWS Cognito as an Oauth2 Provider for Kubernetes Apps - Part 1
Recently I have been integrating a number of apps in Kubernetes to use AWS Cognito as an Oauth2 provider. For those unaware, Oauth2 is a protocol that can be used to authenticate users against a number of different services. Whenever you see “Login with Google” or “Login with Facebook”, this is using Oauth2 behind the scenes.
It’s worth pointing out that Oauth2 is a Framework for how to implement authorization. Open ID Connect (OIDC) extends Oauth2, but also simplifies it. I am by no means an expert in either. Be prepared to read a blog post in 6 months where I correct everything I say in this one!
This post is going to cover a few apps I’ve integrated so far with AWS Cognito. I’ll also do more posts in future as I integrate more apps with it.
Oauth2 and OIDC
For those new to Oauth2 and OIDC, I would suggest the following resources: -
- A Complete Guide to Oauth2 Protocol - Very good blog post, breaks down the concepts clearly
- Understanding Oauth2 and Open ID Connect - Also very good, written by an employee of Okta (who provide a popular Oauth2/OIDC service of their own)
AWS Cognito
Cognito was chosen for a few reasons: -
- We are currently an AWS shop when it comes to the Cloud
- All our code is hosted internally, rather than on something like GitHub or public Gitlab
- We didn’t want to also manage our own internal Oauth2 Authorization Server
I’m fairly inexperienced on Oauth2 and OIDC (as is our business in general), so I also didn’t want to end up trying to set up our own Oauth2 server/provider and find out it’s missing half the features or is horrendously insecure.
One issue with AWS Cognito though is because most of the world is on GitHub, a lot of documentation for Oauth2 integration in applications tends to assume you are too. Many projects have explicit instructions for how to authenticate against GitHub’s Oauth2/OIDC provider. You may also see documentation for authentication against Google, maybe even Okta. Integration documentation on AWS Cognito is few and far between.
Setting up Cognito
You need to follow a few specific steps to get Oauth2 working correctly with Cognito.
Create a user pool
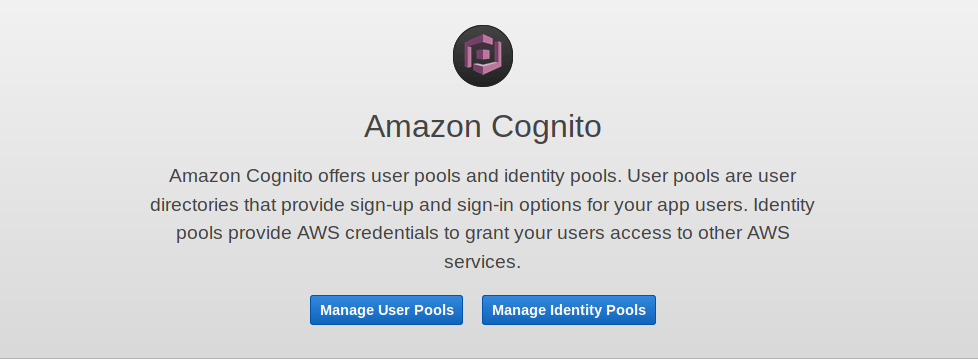
Go to Cognito in AWS, and you will be presented with this: -

If you go to Manage User Pools, you can then begin to create your first Cognito User Pool. Follow the steps below to do so
Create a User Pool
Give it whatever name you would like
Choose how you want End Users to sign in
I would suggest Email, but it is down to your preference. You’ll need to choose some attributes here as well. If you are using AWS Cognito itself to manage users (rather than an external entity, like Google or SAML), choose whatever attributes that you want a User to supply. I am using SAML to Active Directory, so I have chose Email, Family Name, Given Name and Name.
Other Options
After this, you will click through multiple options and set your preferences. This includes Password Complexity, Advanced Security (which adds some security features, but does cost more), Tags and a number of other attributes.
App Client
Once you have done the above, you can start adding your App Clients (so anything you want to authenticate and authorize against AWS Cognito). When you do this, you’ll create a name for the client (for example, kubernetes-web-view). This will generate a Client ID and Client Secret.
App Client Settings
In App Client Settings, you can set the specifics of how the apps will interact with Cognito. This includes your Callback URL(s), Sign Out Urls, what Oauth Flows are used, allowed Scopes (i.e. can a client try and retrieve via Email or Phone?).
All of these settings are going to be app dependent. For example, Pomerium attempts to use the offline_access scope in its default OIDC provider. This isn’t supported in AWS Cognito, so you’ll have to customize your app config to match.
IMPORTANT: Domain Name
There is an option to create a Domain Name as part of your User Pool. To have Oauth work on your apps, this is a must. You can choose your own domain, or you can use one that is provided by AWS, which will be in the format https://{your-chosen-domain}.auth.{region}.amazoncognito.com.
Endpoints
After this, you’ll end up with a number of useful endpoints that apps can make use of. Not all apps make use of each of them, so follow the instructions for the apps to work out which are required.
Authorize
https://{your-chosen-domain}.auth.{region}.amazoncognito.com/oauth2/authorize
Token
https://{your-chosen-domain}.auth.{region}.amazoncognito.com/oauth2/token
Login
https://{your-chosen-domain}.auth.{region}.amazoncognito.com/oauth2/login
Logout
https://{your-chosen-domain}.auth.{region}.amazoncognito.com/oauth2/logout
User Info
https://{your-chosen-domain}.auth.{region}.amazoncognito.com/oauth2/userinfo
IDP Provider URL
https://cognito-idp.{region}.amazonaws.com/{user_pool_id}
You can find the User Pool ID in the AWS Console (select General Settings, and it should be seen as Pool ID. This URL is often used to discover the capabilities of the Provider.
If you navigated to https://cognito-idp.{region}.amazonaws.com/{user_pool_id}/.well-known/openid-configuration for example, you would receive the following JSON response: -
{
  "authorization_endpoint": "https://$COGNITO_DOMAIN.auth.eu-west-1.amazoncognito.com/oauth2/authorize",
  "id_token_signing_alg_values_supported": [
    "RS256"
  ],
  "issuer": "https://cognito-idp.eu-west-1.amazonaws.com/$COGNITO_USERPOOL_ID",
  "jwks_uri": "https://cognito-idp.eu-west-1.amazonaws.com/$COGNITO_USERPOOL_ID/.well-known/jwks.json",
  "response_types_supported": [
    "code",
    "token",
    "token id_token"
  ],
  "scopes_supported": [
    "openid",
    "email",
    "phone",
    "profile"
  ],
  "subject_types_supported": [
    "public"
  ],
  "token_endpoint": "https://$COGNITO_DOMAIN.auth.eu-west-1.amazoncognito.com/oauth2/token",
  "token_endpoint_auth_methods_supported": [
    "client_secret_basic",
    "client_secret_post"
  ],
  "userinfo_endpoint": "https://$COGNITO_DOMAIN.auth.eu-west-1.amazoncognito.com/oauth2/userInfo"
}
Some apps (for example, Pomerium and ArgoCD) will use the IDP Provider URL to discover the Oauth2 Token/Authorize/userInfo endpoints, rather than having to supply them yourself.
Terraform
I have been setting up most of this in AWS using Terraform. An example Terraform module is below: -
## Create the User Pool
resource "aws_cognito_user_pool" "kube-web-view" {
  name = "userpool-kube-web-view"
  alias_attributes = [
    "email",
    "preferred_username"
  ]

  auto_verified_attributes = [
    "email"
  ]

  schema {
    attribute_data_type      = "String"
    developer_only_attribute = false
    mutable                  = true
    name                     = "name"
    required                 = true

    string_attribute_constraints {
      min_length = 3
      max_length = 70
    }

  schema {
    attribute_data_type      = "String"
    developer_only_attribute = false
    mutable                  = true
    name                     = "email"
    required                 = true

    string_attribute_constraints {
      min_length = 3
      max_length = 70
    }
  }

  admin_create_user_config {
    allow_admin_create_user_only = true
  }

  tags = {
    "Name" = "userpool-kube-web-view"
  }
}

## Create the oauth2 Domain

resource "aws_cognito_user_pool_domain" "kube-web-view" {
  domain = "oauth-kube-web-view"
  user_pool_id = aws_cognito_user_pool.kube-web-view.id
}

## kube-web-view Client

resource "aws_cognito_user_pool_client" "kube-web-view" {
  name = "kube-web-view"
  user_pool_id = aws_cognito_user_pool.kube-web-view.id

  allowed_oauth_flows = [
    "code",
    "implicit"
  ]

  allowed_oauth_scopes = [
    "email",
    "openid",
    "profile",
  ]

  supported_identity_providers = [
    "COGNITO"
  ]

  generate_secret = true

  allowed_oauth_flows_user_pool_client = true

  callback_urls = [
    "https://{my-kube-web-view-host}/oauth2/callback"
  ]
}


## Outputs

output "kube-web-view-id" {
  description = "Kube Web View App ID"
  value = aws_cognito_user_pool_client.kube-web-view.id
}

output "kube-web-view-secret" {
  description = "Kube Web View App Secret"
  value = aws_cognito_user_pool_client.kube-web-view.client_secret
}
You will likely need to customise this to match your environment, but this should at least get you started.
Apps
So far I have integrated (or at least attempted to integrate) the following apps on Kubernetes with AWS Cognito, with some limitations: -
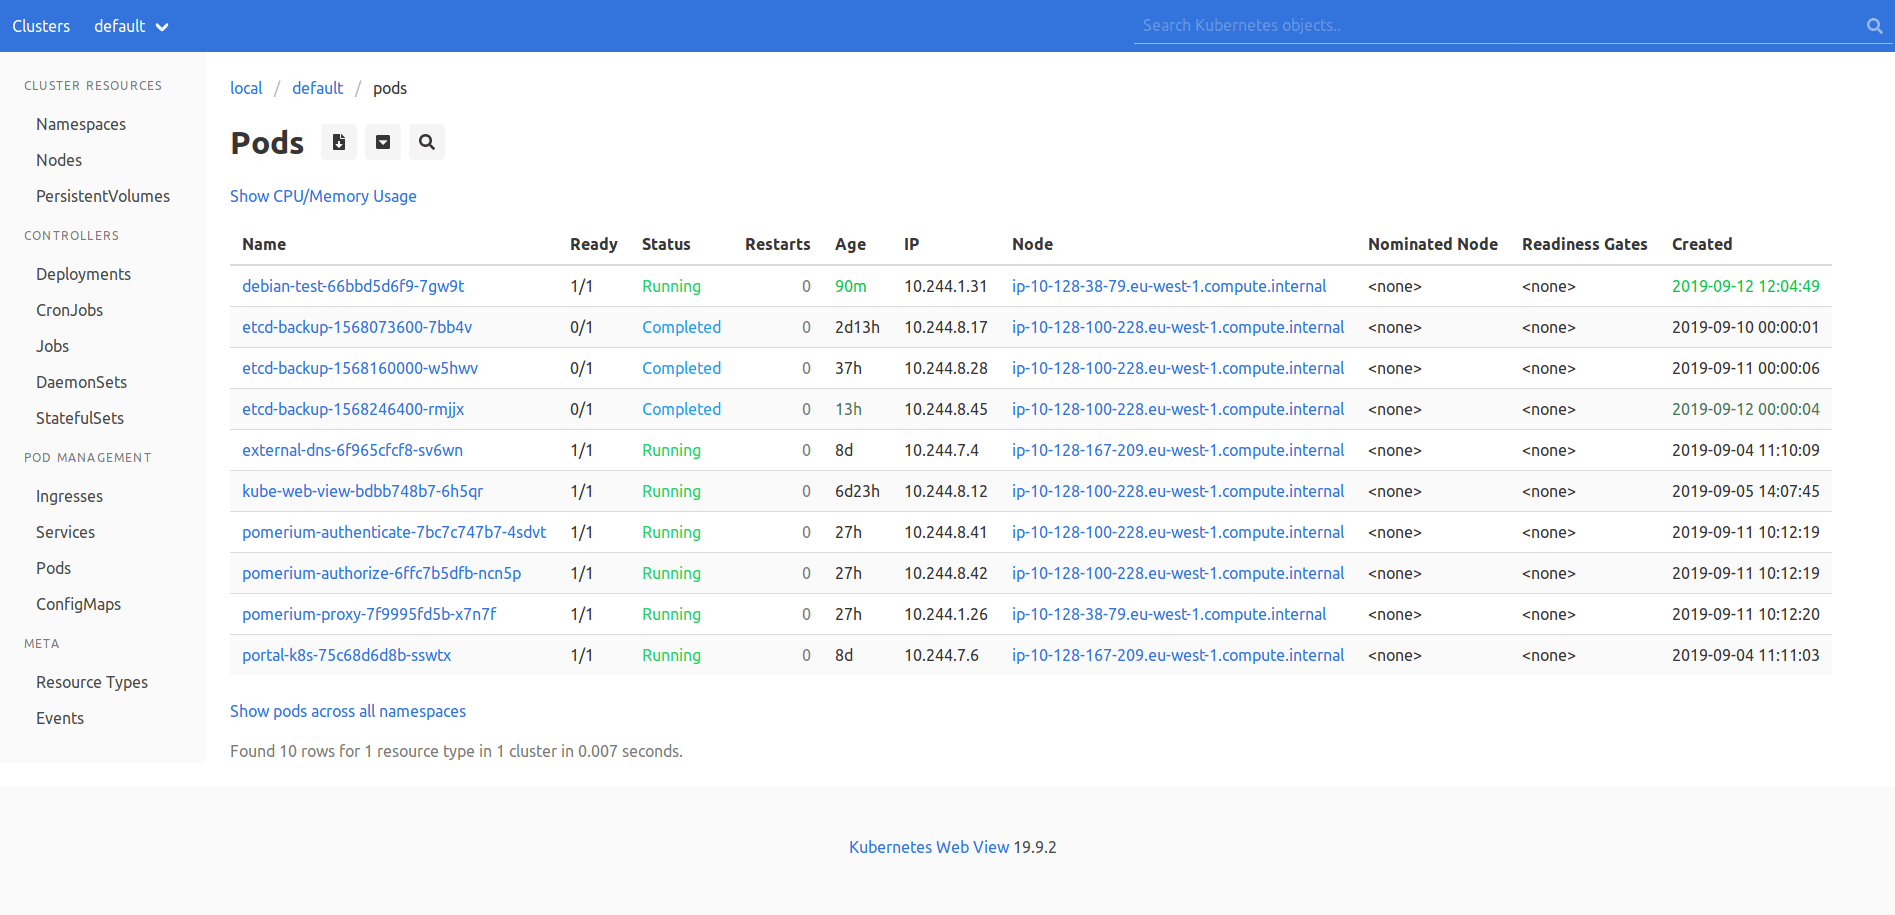
- Kubernetes Web View - Read-only lightweight dashboard of Kubernetes with permalinks
- This project now has AWS Cognito documentation, which I contributed
- ArgoCD - GitOps-style Continuous Deployment for Kubernetes
- Yet to submit documentation, but will likely do so in the near future
- Spinnaker - Comprehensive Continuous Deployment tool, covering a number of providers (including AWS, Kubernetes, GCE, Azure etc)
- Failed to get this working, will work more on this one in the future
- Pomerium - Oauth2-enabled Reverse Proxy - allows Oauth2 authentication in front of resources that do not support it natively
Kubernetes Web View

Kubernetes Web View is an application developed by Henning Jacobs from Zalando. Zalando have provided a number of useful applications for Kubernetes.
Kubernetes Web View provides a simple read-only dashboard, with predictable URLs for resources rather than uniquely generated per user. This helps for copying-and-pasting links in chats to people so that they can see the same view as you.
Henning also runs the Kubernetes Failure Stores repository. If you want to learn from others who have used Kubernetes, and what not to do, go here. I have made a number of updates to how we run our clusters and apps on Kubernetes due to the stories in this repository.
A lot of the instructions above were expanded from the documentation I contributed to the Kubernetes Web View project, that can be seen here.
Kubernetes Deployment
The Deployment YAML that you use in Kubernetes would look something like the below: -
apiVersion: apps/v1
kind: Deployment
metadata:
  labels:
    application: kube-web-view
  name: kube-web-view
spec:
  replicas: 1
  selector:
    matchLabels:
      application: kube-web-view
  template:
    metadata:
      labels:
        application: kube-web-view
    spec:
      serviceAccountName: kube-web-view
      containers:
      - name: kube-web-view
        # see https://codeberg.org/hjacobs/kube-web-view/releases
        image: hjacobs/kube-web-view:latest
        args:
        - --port=8080
        # uncomment the following line to enable pod logs
        # (disabled by default as they might consider sensitive information)
        # - "--show-container-logs"
        # uncomment the following line to unhide secret data
        # see also https://kube-web-view.readthedocs.io/en/latest/security.html
        # - "--show-secrets"
        ports:
        - containerPort: 8080
        env:
        - name: OAUTH2_AUTHORIZE_URL
          value: "https://{AWS_COGNITO_DOMAIN_PREFIX}.auth.eu-west-1.amazoncognito.com/oauth2/authorize"
        - name: OAUTH2_ACCESS_TOKEN_URL
          value: "https://{AWS_COGNITO_DOMAIN_PREFIX}.auth.eu-west-1.amazoncognito.com/oauth2/token"
        - name: OAUTH2_CLIENT_ID
          value: "{AWS_COGNITO_APP_CLIENT_ID}"
        - name: OAUTH2_CLIENT_SECRET
          value: "{AWS_COGNITO_APP_CLIENT_SECRET}"
        readinessProbe:
          httpGet:
            path: /health
            port: 8080
        resources:
          limits:
            memory: 100Mi
          requests:
            cpu: 5m
            memory: 100Mi
        securityContext:
          readOnlyRootFilesystem: true
          runAsNonRoot: true
          runAsUser: 1000
- {AWS_COGNITO_DOMAIN_PREFIX} - Replace this with what you set in Domain Name Section
- {AWS_COGNITO_APP_CLIENT_ID} - Got to your App Client, and get the Client ID
- {AWS_COGNITO_APP_CLIENT_SECRET} - Got to your App Client, and get the Client Secret
ArgoCD

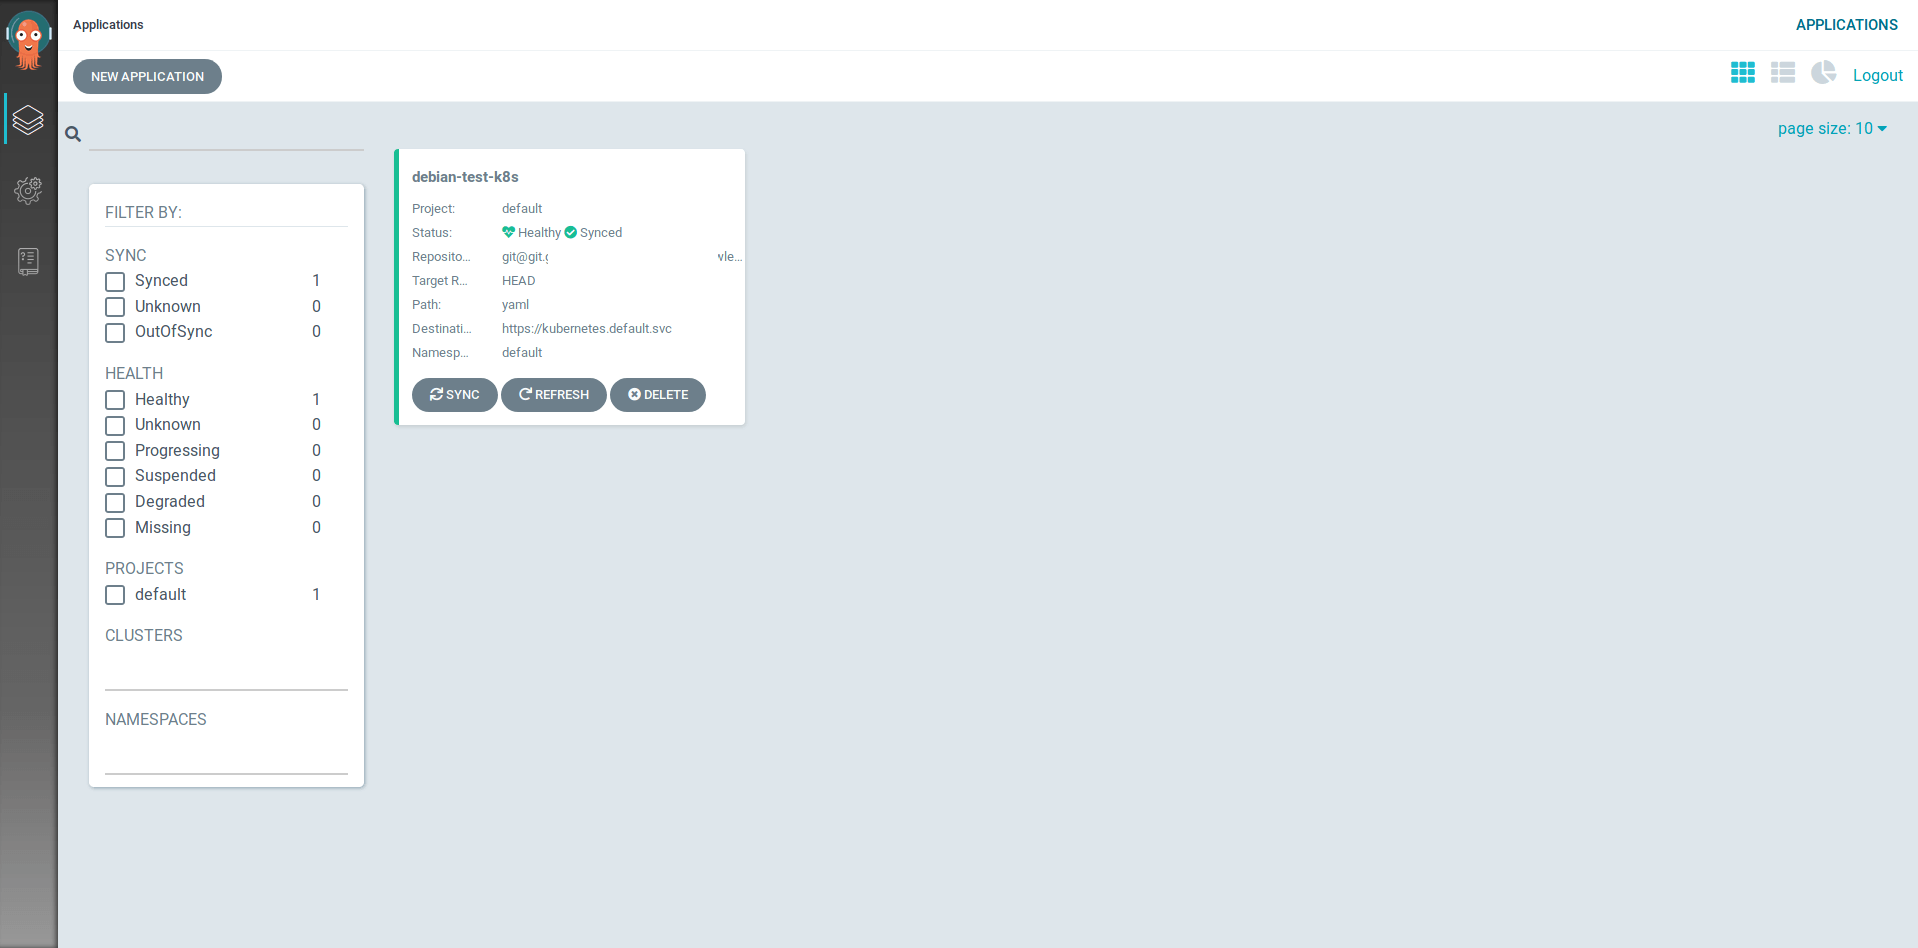
ArgoCD is a very lightweight Continuous Deployment solution, using “GitOps”, defining your repositories as the source of truth for deployment, configuration and versioning, rather than your CI (continuous integration) application.
ArgoCD uses the IDP Provider URL. You supply the Oauth details using a ConfigMap, with an example below: -
apiVersion: v1
kind: ConfigMap
metadata:
  name: argocd-cm
  namespace: argocd
  labels:
    app.kubernetes.io/name: argocd-cm
    app.kubernetes.io/part-of: argocd
data:
  # Argo CD's externally facing base URL (optional). Required when configuring SSO
  url: https://argocd.example.com

  # OIDC configuration as an alternative to dex (optional).
  oidc.config: |
    name: CloudCall
    issuer: https://cognito-idp.eu-west-1.amazonaws.com/{USER_POOL_ID}
    clientID: {AWS_COGNITO_APP_CLIENT_ID}
    clientSecret: {AWS_COGNITO_APP_CLIENT_SECRET}
    # Optional set of OIDC scopes to request. If omitted, defaults to: ["openid", "profile", "email", "groups"]
    requestedScopes: ["openid", "profile", "email"]
    # Optional set of OIDC claims to request on the ID token.
    requestedIDTokenClaims: {"groups": {"essential": true}}
Spinnaker
Spinnaker does look very promising. It is a Continuous Deployment solution that was developed inside of Netflix. It is very heavy on resources though, so I would avoid trying to run it on smaller clusters.
I am yet to get Spinnaker working correctly with AWS Cognito though, so I will revisit this in a later blog post.
Pomerium
Pomerium provides a reverse proxy feature, in a similar way to NGINX Reverse Proxying. Instead of relying on the applications to provide their own Oauth2-based authentication and authorization, Pomerium can provide it for them.
The slight disadvantage is that if you are already using some form of Ingress controller, you will be forwarding through the ingress, then Pomerium, then to your application for every request.
The extra hop and processing time may make a difference to what you are protecting. Whether the benefits of having your applications fronted by Oauth2-based authentication/authorization outweigh the extra overhead is up to you to decide.
The ConfigMap used looks like the below: -
apiVersion: v1
data:
  config.yaml: |
     # Main configuration flags : https://www.pomerium.io/reference/
     authenticate_service_url: https://k8s-auth-prod.example.com
     authenticate_internal_url: https://pomerium-authenticate-service.default.svc.cluster.local
     authorize_service_url: https://pomerium-authorize-service.default.svc.cluster.local


     idp_provider: oidc
     idp_provider_url: https://cognito-idp.eu-west-1.amazonaws.com/{USER_POOL_ID}
     idp_client_id: {AWS_COGNITO_APP_CLIENT_ID}
     idp_client_secret: "{AWS_COGNITO_APP_CLIENT_SECRET}"
     idp_scopes: ["openid", "email", "profile"]

     policy:
       - from: https://tekton-prod.example.com
         to: http://tekton-dashboard.tekton-pipelines.svc.cluster.local:9097
         allowed_domains:
           - example.com

       - from: https://k8s-prod-prometheus.example.com
         to: http://prometheus-k8s.monitoring.svc.cluster.local:9090
         allowed_domains:
           - example.com
kind: ConfigMap
metadata:
  name: pomerium-config
When using Pomerium with AWS Cognito, you have to set the idp_scopes. By default, the Pomerium OIDC provider attempts the following scopes: -
- profile - Supported by Cognito
- email - Supported by Cognito
- offline_access - Not supported by Cognito
If you do not specify this, your requests will fail with Invalid Scopes.
To be continued
I’m working with putting more applications behind Oauth2, and I’m sure I’m also going to learn more about Oauth2 and OIDC along the way. In future posts I’ll cover other applications that integrate with Oauth2, as well as ones which benefit from using Pomerium (or similar Oauth2 proxies).
devops kubernetes oauth2 cognito aws argocd spinnaker pomerium terraform kube-web-view
1988 Words
2019-09-12 13:44 +0000